

How Invoice Payments Work
- Create Invoice: Enter customer details and amount
- Generate Link: System creates secure payment URL
- Send to Customer: Email or text the payment link
- Customer Pays: They click link and complete payment
- Get Paid: Instant notification when payment completes
When to Use Invoice Payments
- Service Businesses: Send invoices after completion
- Advance Bookings: Collect deposits for appointments
- B2B Payments: Professional invoicing for business clients
- Remote Sales: Online or phone orders
- Recurring Services: Monthly or regular billing
Creating Invoices
Single Invoice
Required Information:- Customer name and email
- Invoice amount and currency
- Due date
- Service/product description
- Customer phone number
- Billing address
- Custom invoice number
- Special instructions
Bulk Invoice Import
Upload a CSV file to create multiple invoices at once:- Download Template: Get our CSV format
- Fill Your Data: Add customer and invoice details
- Upload File: Import through dashboard
- Review & Send: Check details before sending
Customer Experience
Payment Process
- Receive Link: Customer gets email or SMS with payment link
- Review Invoice: See business details and amount due
- Choose Bank: Select their preferred bank
- Secure Payment: Complete through banking app
- Confirmation: Get receipt and payment confirmation

Professional Appearance
- Your Branding: Business logo and colors
- Clear Details: Invoice breakdown and terms
- Secure Badge: Trust indicators for security
- Contact Info: Easy way to reach you with questions
Invoice Management
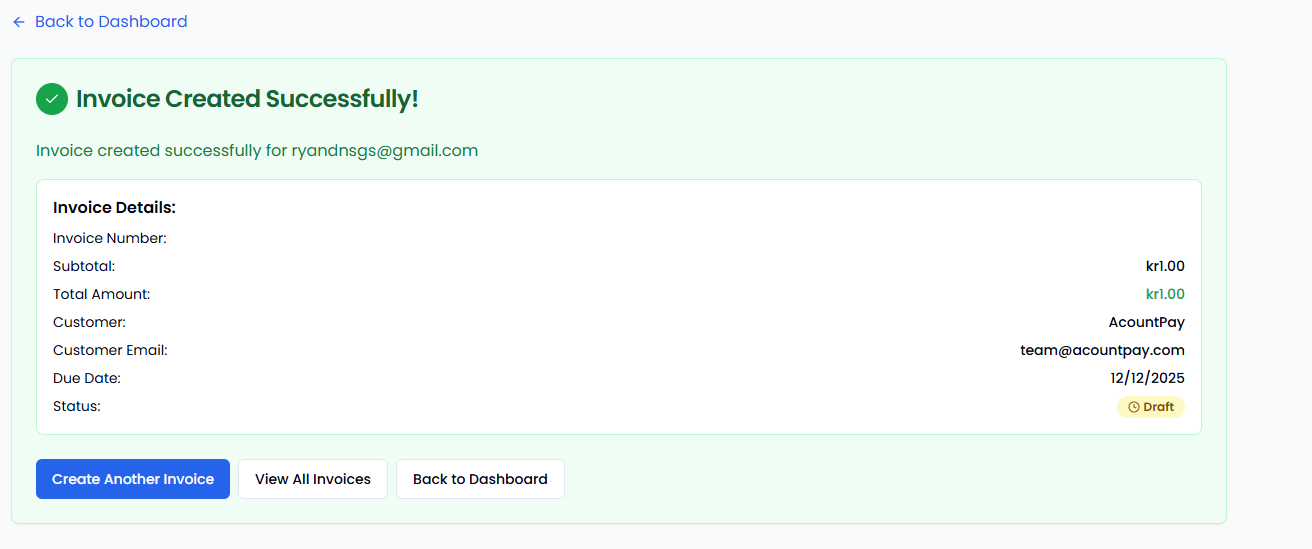
Track Status
- Draft: Invoice created but not sent
- Sent: Payment link delivered to customer
- Viewed: Customer has opened the invoice
- Paid: Payment completed successfully
- Overdue: Past due date without payment

Security Features
- Encrypted Links: Secure payment URLs
- Expiration Dates: Links expire after set time
- One-time Use: Links disabled after payment
- Bank-grade Security: Same protection as online banking
Getting Started
- Access Dashboard: Log into pos.acountpay.com
- Create Invoice: Enter customer and payment details
- Send Link: Copy the link and send it in an e-mail or text to customer
- Monitor Status: Track payment progress
- Get Paid: Receive instant confirmation
Invoice payments are perfect for businesses that provide services or need to collect payments remotely. Professional, secure, and easy for customers to use.
Customer Experience
Payment Process:- Customer clicks payment link
- Reviews invoice details
- Selects their bank
- Authorizes payment through banking app
- Receives confirmation
Customer Communication
Automated Emails:- Invoice delivery with payment link
- Payment confirmation receipts
Troubleshooting
Common Issues
Payment Link Not Working:- Check link expiration date
- Verify customer email delivery
- Test link in different browsers
- Regenerate link if necessary
- Verify bank compatibility
- Check payment amount limits
- Test with different banks
- Contact customer support
- Validate CSV format
- Check data encoding (UTF-8)
- Verify all required fields
- Review error log details